
At the moment, I’m doing my first-ever commissioned artwork. I often had an idea of keeping some kind of progress journal and documenting the stages of my artworks, but I was just never motivated and organised enough. Now that I have this blog thing, I’ve finally decided to try and take the in-progress photos once a month. Better late than never and all.
Anyways, this artwork has been commissioned by my brother, who is a big fan of Red vs. Blue (according to wikipedia, it’s an American comic science fiction video web series). He’s given me this reference for what he’d like the artwork to look like:
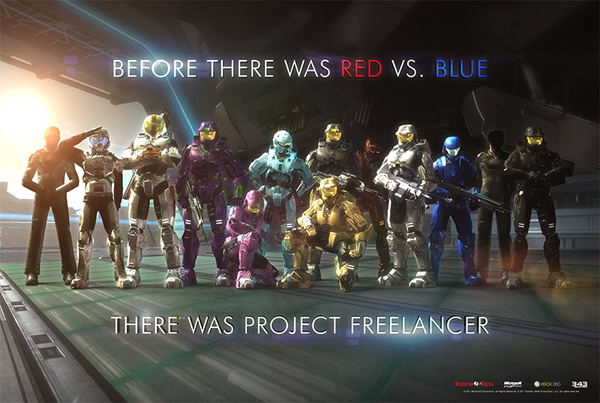 Naturally, because I’m recreating this illustration using fabrics, I had to simplify it a lot and make everything flatter. For now, I’m concentrating on the background; the figures frankly look so fiddly and detailed I don’t want to think about them just yet. My brother wanted the finished piece to be as large as possible, so I’m doing this at 142 cm width x 95 cm height. It just about fits on the dining table back at Mum’s place, which she kindly allowed me to use even though it’s going to look a tad messy for many months to come. Thanks Mum!
Here’s what I got done after five months:
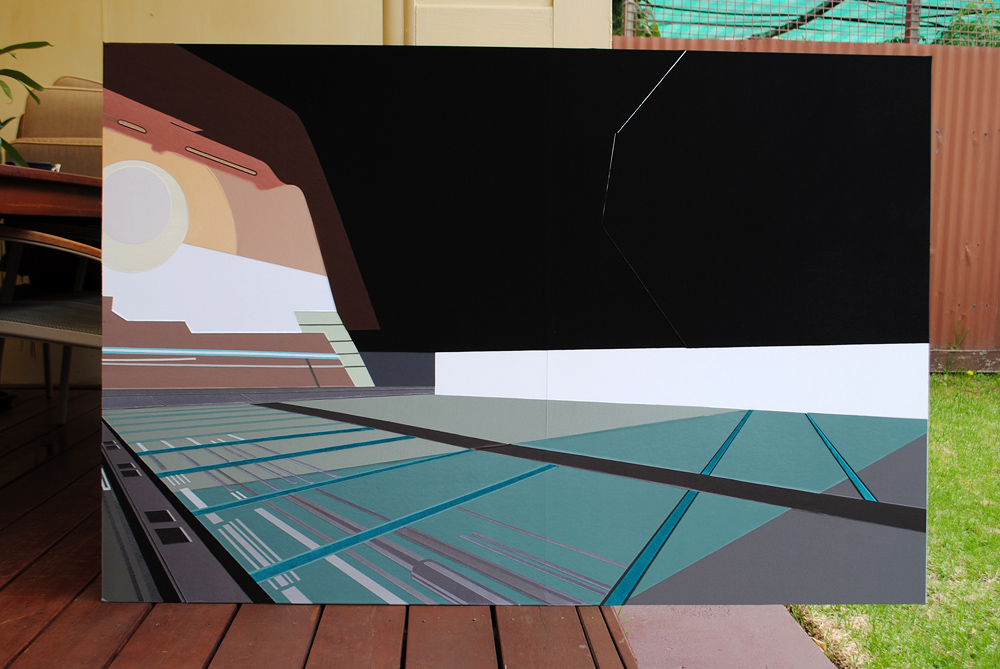 So, most of the base layers are done and I’ve almost finished the floor detailing. The colours aren’t as accurate as I’d have liked, but then you’re pretty much limited with what you can find at craft/fabric stores and so far I’m pretty happy with my picks. At one point, I had to rip off the middle floor panel and redo all the details because I decided that the fabric I’ve picked originally was far too grey, but other than that there’ve been no major disasters.
Just to give an idea of how slowly this all happens, here are the general steps I do for every detail:
1. Cut out the detail template.
2. Measure it against the existing artwork to make sure it fits ok because neither fabrics nor myself are perfect.
3. Trace the template on the sheet of double-sided sticky paper, making sure it faces the right way.
4. Give the piece of fabric I’m using some ironing so it’s nice and even.
5. Stick the fabric onto the peeled side of the paper, making sure there are no creases.
6. Cut out the detail.
7. Measure it against the existing artwork again, because tracing and cutting are never 100% accurate.
8. Unpeel the bottom side of the detail.
9. With the baited breath, slot it into its place on the artwork. If you’re sticking it onto another fabric, there’s a chance to unpeel and redo if it’s gone a bit wrong, but if you’re attaching it to the cardboard base, this is your one and only chance to get it right because it will stick with a deadly grip. If you end up with bubbles of air trapped in between, they’re a pain to get rid of.
10. Repeat 1,372 times over and voila you have your artwork!

I can’t wait to see the finished artwrok, if its anything like your others its going to amazing, well done so far! Sandra!
LikeLike