
Intro | Day 1 | Day 2 | Day 3 | Day 4 | Day 5 | Day 6 | Day 7 | Day 8 | Day 9 | Day 10 | Day 11 | Day 12 | Day 13 | Day 14
Temple of Emotion
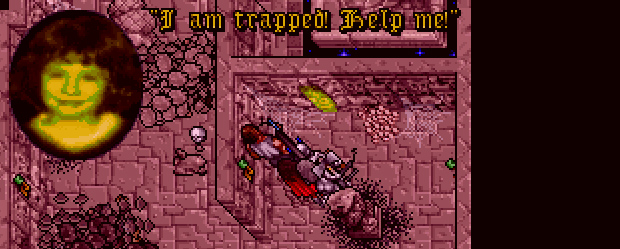
Easy stuff. I released Shriash, the Chaos spirit girl, from the wall where she’s been trapped for centuries, and used the four lodestones to get the water of Emotion.
 Then I checked the Moon Eye to watch the gathering of the Banes at the Castle of the White Dragon. From what I understand, in the original draft you had to find and confront the Banes separately at first; I remember being confused, on my first play, why I was told to look at all three devices in the Chaos temples when only one sufficed.
Temple of Tolerance
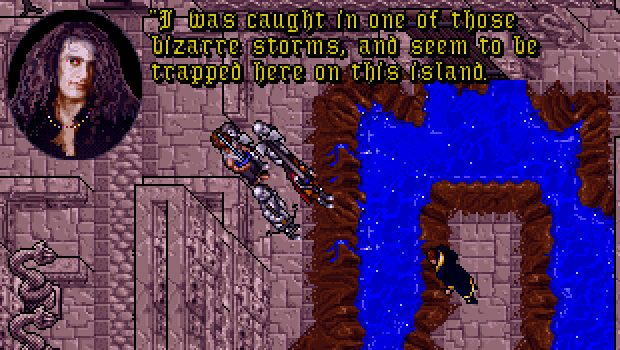
I completely forgot that you’re actually meant to get the water of Tolerance from the altar in Gustacio’s basement. In the temple, I found Mortegro, who complains that he cannot escape the mini-island by magical means. Well Alice Cooper… can’t you just swim to the shore? Seriously, that moat looks small enough for a five-year-old to cross!
 Beneath the temple, I met Sethys, a rather excitable Chaos follower who somehow lasted for centuries and must be bored out of his skull by now. I morphed into a snake and made my way to another treasure chamber full of useless gold bars, and the key that opens the door to the winch. I lowered the drawbridge for Mortegro, who gave me a scroll with the Shade Summoning spell, and then asked me to accompany him back to Moonshade. But in a stroke of shitty luck, he gets disintegrated by a lightning just outside the temple. Now that’s just mean, writers.
Temple of Enthusiasm
After I got the water of Tolerance from Moonshade, I made it to the last Chaos temple, where you have to pass a mildly annoying maze and find a bunch of important-sounding objects which play no importance in the plot whatsoever. Maybe at some point the Hammer of Dedication and the Sceptre of Enlightenment had a role to play, before the second half of the story got butchered.
Temple of Ethicality
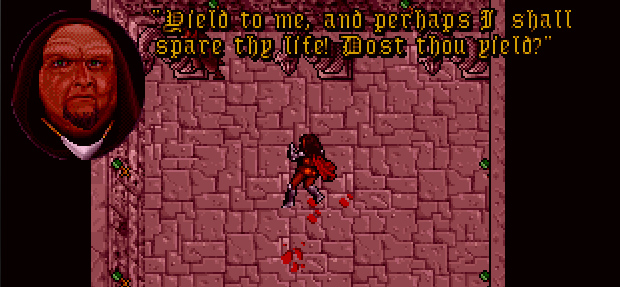
After constructing and purifying the soul prisms, I thought I might as well go on with my grand tour of the Ophidian temples. In this temple, you have to meditate on the rug and take a test of ethics: save a man from burning, give up your wealth, and refuse to surrender to your enemy, in this case, a miraculously resurrected Batlin.
 Like the tests in the Furnace, I find these ethical tests mostly boring, when your course of action is so bleeding obvious and doesn’t require any effort other than, press a button and put a thing on a thing. What real test am I facing sitting in my cosy chair in front of a computer?
Temple of Logic
I like this temple heaps better, since it actually requires some thinking. Also, good thing I haven’t chucked out the Gwani Horn, because unexpectedly, you need to use it again to destroy the blocks of ice in your way.
I solved the teleporter puzzle and the runes puzzle, but I didn’t have to figure out which automaton in the temple destroyed the keeper of the key, since I’ve resurrected him already in the ice caves and he told me who the culprit was. But I was very excited to finally solve the stones puzzle! In all my other playthroughs, I cheated and used the Dispel Field spell to get the key.
 Now that I had my soul prisms, healing waters and fixed up the Black Sword with Gustacio’s Flux Analyzer, it was time to show the Banes who’s the boss.
The Castle of the White Dragon
The castle is one of my favourite locations in the game. I like its ghoulish history, the creepy music, and the traps the Banes lay for you feel like something the writers had lots of twisted fun with; they’re tailored individually to each room and so, for instance, you get attacked by a nightmare in the room full of stuffed animal heads. My favourite trap is the room with mirrors which spawn fake Avatars; if this happened in real life, killing perfect copies of yourself would probably be very disturbing!
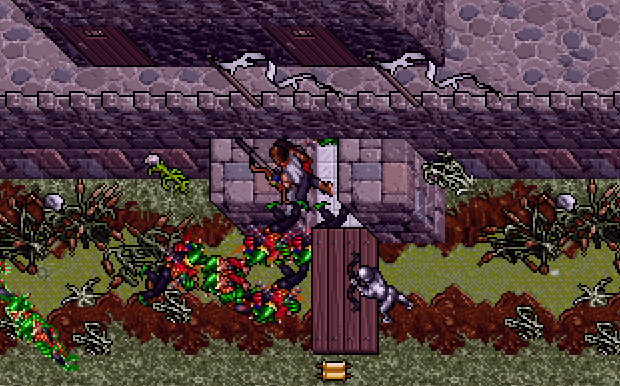
The WTF fun begins even before you enter the castle, with a bunch of killer jesters exploding all around you.
 You’re then greeted by the ghost of the King of the White Dragon, who, according to the diary in the library, went mad after losing his daughter and Shamino’s fiancée, Beatrix, and slaughtered everyone in the castle during the Solstice Festival. The library is also full of exploding books:
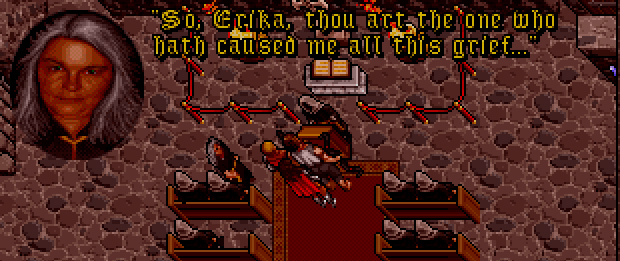
 Eventually I made my way to the throne room upstairs and defeated the Banes, who wailed and whined about being bested by a mere mortal. This was yet another point in the game where I got stuck for ages first time around – I failed to make a connection between the Banes and the fixed Black Sword, so I wasted time in long and fruitless fights that never went anywhere and had me wondering what the hell was I doing wrong.
I took the bodies of my companions to the Monk Isle, where initially I got them resurrected in the corn field since that’s where the monks were at the time. Problem was, for some reason they remained stuck in a spot and wouldn’t join me when I fed them the appropriate water, which got me panicked as I’ve already saved the game after the resurrection. My solution was to wait until the Monks left the field, then kill my companions all over again and move their bodies to a more agreeable terrain.
As soon as I restored the last companion, Xenka returns to the world in a rather abrupt fashion, and is pretty tired and jaded about the whole thing. What did the Xenka monks get up to anyway after the story’s over and their life’s work is done?
 Xenka gave me the second-last serpent tooth and told me to go to the Isle of Crypts… but I decided to instead play the Silver Seed add-on, which I kinda forgot about.
Iolo reunited with his wife, and blatantly lied about the diamond necklace he had received in Fawn.
 Iolo you idiot it’s right there in your own damn backpack!
Intro | Day 1 | Day 2 | Day 3 | Day 4 | Day 5 | Day 6 | Day 7 | Day 8 | Day 9 | Day 10 | Day 11 | Day 12 | Day 13 | Day 14
